Introduction
You already know how to put a bias thanks to this tutorial or your knowledge. However, a majority of the works have a right or rounded angle.
In this tutorial, you will learn how to place a sewing bias in a corner!
Material :
- Thread matching the bias
- Clips or Pins
- Sewing meter
- Unpick quickly
- Wire cutting scissors
- Erasable pen
- Sewing machine needle
- Sewing machine
- Scissors
- Iron


The steps:
Preparation and sewing
- Unfold the bias and place it right side against right side with the fabric. Pin it.

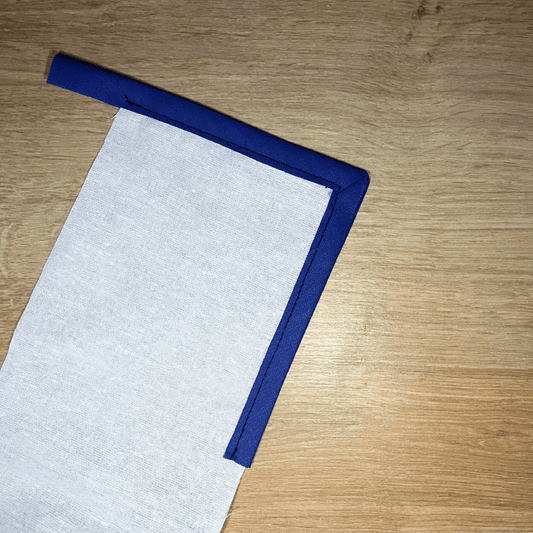
- Sew in a straight line 1mm from the fold on the edge side to the corner minus the width of a folded bias. Mark a mark and make two small back stitches to secure the thread. Sew slowly to ensure a straight and precise seam. Pin the second side by aligning the edge of the fabric with the edge of the bias and mark a mark. Do not forget to secure the seam.

- Pick up the seam where you left off, continuing on the other side of the corner.

- Fold the corner so that the thicknesses are clear.

- On the reverse side, turn the bias over and fold a first edge, adjust the angle by putting it in place with your fingers so that it is neat.

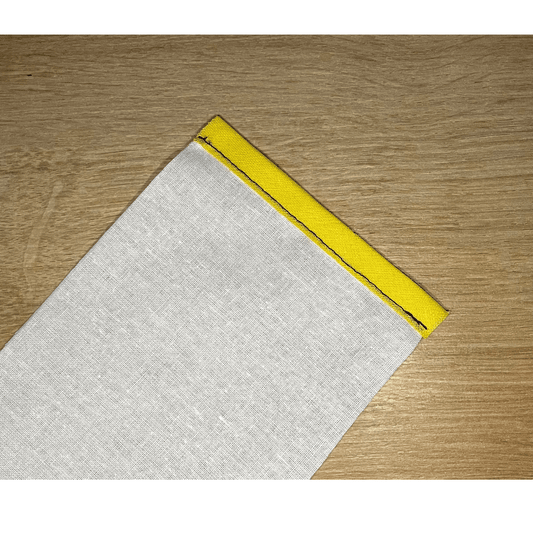
- After working the angle, stitch the second side of the bias 1 mm from the edge of the fold to secure the bias, maintaining a straight and regular line.

- Iron the sewn bias.

- You now know how to place a bias at a right angle, WELL DONE!


